
Practical guide
How to Document a Rental Property's Condition Before Move-In
Create a clear move-in condition record with useful photos, specific notes, and a repeatable room-by-room process before furniture and boxes change the view.
In this article
Quick take
Useful condition documentation is less about taking more photos and more about creating a record another person can understand later.
Start before belongings arrive, use the same route through the home, pair wide context photos with specific notes, and preserve one final version with the lease and household record.
Build a baseline another person can understand later
The purpose of move-in condition documentation is simple: create a reliable picture of the home at the point possession begins. Months later, nobody should have to rely on memory to understand what a room, fixture, or surface looked like on move-in day.
That means the record needs context as well as detail. A close photo of a mark on a wall is useful only if someone can tell which wall it belongs to. A note that says "scratch" is useful only if it identifies the room, surface, and location. Good documentation connects those pieces into one readable baseline.
A clear baseline should answer
- Which property and unit does this record belong to?
- When was the condition documented?
- Which room, fixture, or surface is being described?
- What does the wider area look like?
- What specific condition detail is worth noting?
- Is anything separate from the condition record and waiting for maintenance follow-up?
Document the home before belongings change the view
The cleanest time to document a rental home is before rugs, furniture, storage bins, and moving boxes cover the surfaces you are trying to record. Even a well-organized move can make floors, corners, baseboards, doors, and lower wall areas harder to see within an hour.
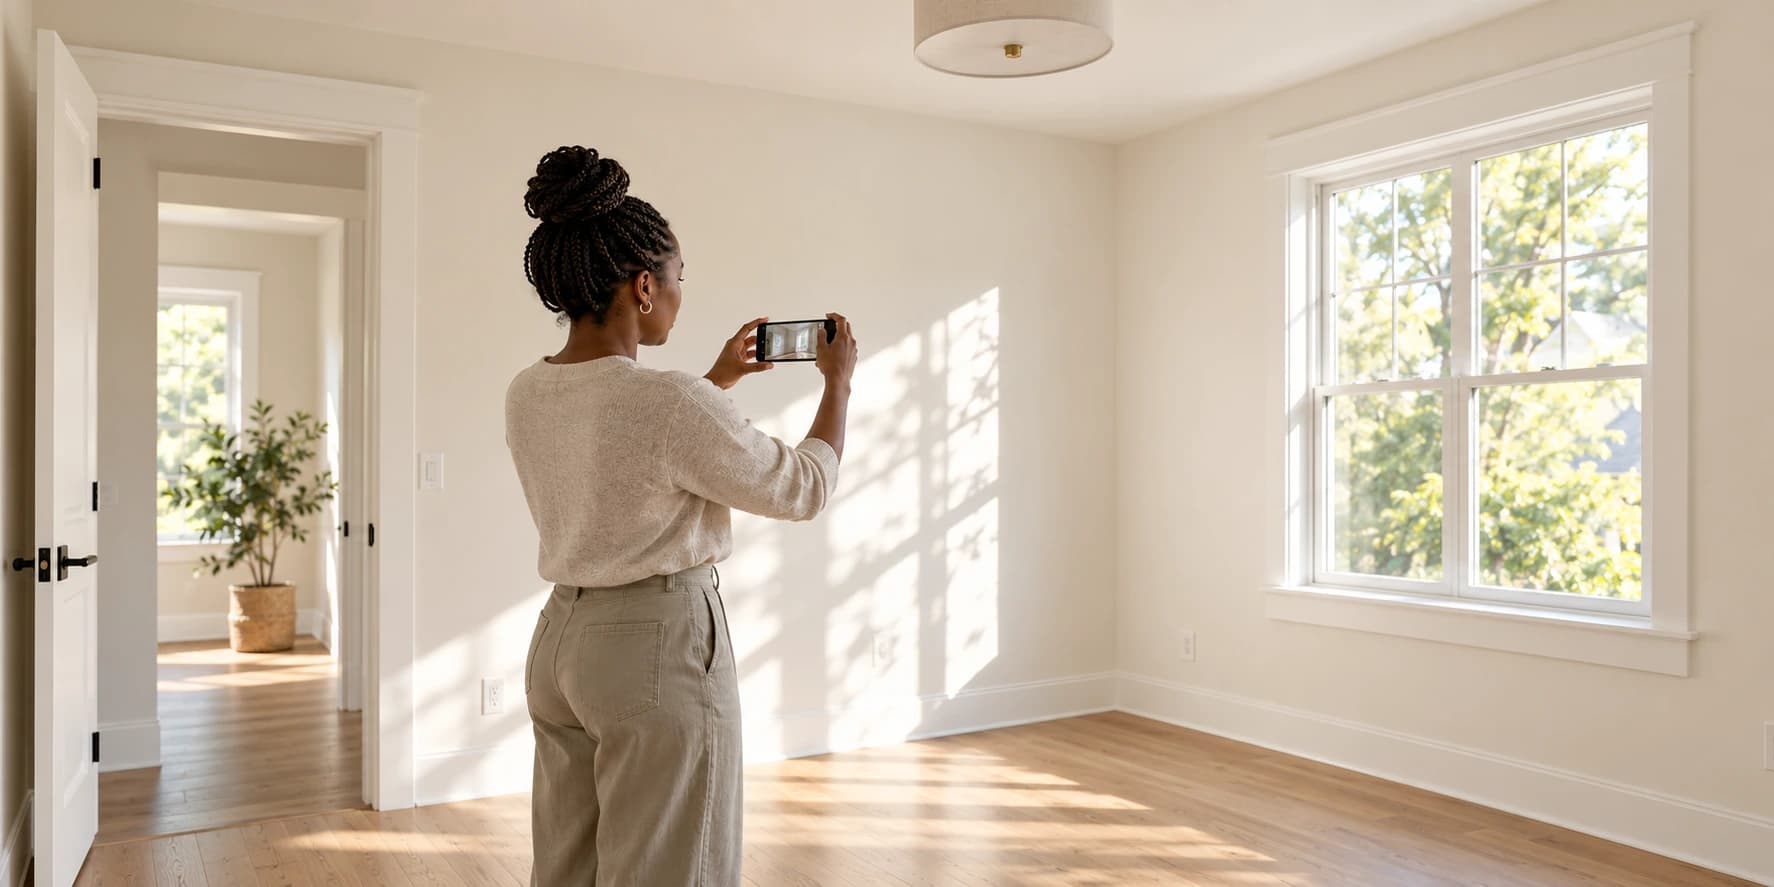
Whenever the handoff allows it, walk the property while it is still mostly empty. Turn on available lights, open blinds if appropriate, and make sure the space is bright enough for the camera to show real condition rather than deep shadows. The goal is not a beautiful listing photo. It is a clear record.
Use the same route through the home every time
A repeatable route reduces omissions. Start at the entry and move through the home in the same order: living areas, kitchen, bedrooms, bathrooms, then any resident-accessible utility, storage, balcony, patio, garage, or exterior space that belongs in the record.
Within each room, use a simple sequence. Capture the room as a whole, then move around the perimeter and finish with the fixtures or equipment that need their own notes. A consistent pattern makes the final record easier to review and gives a future move-out inspection something concrete to follow.
01
Start with one wide room view.
Show enough of the room to establish context before moving closer.
02
Move around the perimeter.
Walls, floors, windows, doors, trim, and built-ins are easier to track in a consistent order.
03
Capture fixtures and equipment.
Document the items that belong to the home rather than relying on a general room photo.
04
Add detail only where it helps.
Use close-ups for a specific condition note, then keep them tied to the wider view.
Take wide photos first, then document the detail
A useful photo set usually works in pairs: context first, detail second. Start with one or more wide images that identify the room and orientation. Then take a closer image of a stain, scratch, chip, cracked tile, damaged screen, loose fixture, or other condition that is worth preserving in the record.
Try to photograph the subject straight on when possible and avoid dramatic angles that make scale difficult to judge. If a close-up removes all sense of size, include something in the surrounding frame that helps locate the condition rather than trying to make the defect look larger or smaller than it is.
Do
- Take a wide room photo before close-ups.
- Keep detail photos connected to a room or note.
- Use natural, even light when possible.
- Capture labels or model information when it helps identify provided equipment.
Don't
- Rely on a folder of unexplained close-ups.
- Use heavy filters or edits that change how condition appears.
- Photograph personal information that is unrelated to the home record.
- Assume a photo alone explains what someone should notice.
Write notes that are specific without becoming a novel
Condition notes work best when they identify what, where, and how much. "Small chip at lower-right corner of bedroom door frame" is more useful than "door damaged." "Two dark marks on living-room wall beside window" is easier to match to a photo than "marks on wall."
Use neutral descriptions and observable facts. The move-in record is not the place to guess why something happened or who caused it. If a measurement matters, record it. If the photo makes the note obvious, keep the wording short and let the two pieces support each other.
Example condition note
Living room — east wall
- Condition
- Two small scuff marks beside window
- Context photo
- Living room overview
- Detail photo
- East wall, lower-right area
- Action needed
- None noted at move-in
Keep condition documentation and maintenance connected but distinct
Condition documentation records what is present. Maintenance tracks what needs action. A loose cabinet hinge, slow drain, damaged outlet cover, or nonworking appliance may belong in both workflows, but for different reasons.
Include the observed condition in the move-in record so the baseline remains complete. Then use the property's maintenance process for the repair request, status, scheduling, and resolution. That separation prevents the condition report from becoming an informal work-order list while still preserving the fact that the issue existed at move-in.
Review the record from both sides before move-in gets busy
A quick review catches gaps that are easy to miss during the walk-through. Check that each expected room appears, photos are understandable, notes match the correct area, and anything requiring follow-up has a clear next step outside the condition record.
For owners and property managers, the test is whether the final record can be understood without the person who created it standing beside you. For residents, the test is whether the record accurately reflects the condition they observed and whether they know how to submit any permitted additions within the property's required process and timing.
“The best condition record is clear enough to outlast everyone's memory of move-in day.”
Keep one final version with the home
Photos scattered across personal camera rolls, notes in text messages, and attachments in separate email threads are difficult to reconstruct later. Once the move-in documentation is complete, preserve one identifiable final record and keep the related photos, acknowledgements, and follow-up connected to the same home and lease context.
The record should still be easy to find when the next inspection happens. That continuity is what turns move-in documentation from a first-day task into useful operating history.
This guide is operational information, not legal advice. Leases and local rules can set specific inspection, notice, signature, documentation, and timing requirements, so follow the requirements that apply to the rental.
The useful record
Capture enough context that the home can be understood later.
A good move-in record is not the biggest photo library. It is a clear baseline — organized by room, supported by specific notes, and kept with the home's history.
Related reading
More practical guidance for owners, residents, and property teams.
Rental Move-In Inspection Checklist: A Room-by-Room Guide
September 18, 2026 · 10 min read
ReadWhat Should Be Included in a Rental Condition Report?
September 16, 2026 · 8 min read
ReadA smoother move-in starts before move-in day
September 18, 2026 · 6 min read
ReadDo this in Parc
Keep move-in tasks, photos, notes, and resident acknowledgement connected to the home.
Parc & Portfolio keeps the move-in record next to the lease, household, and the rest of the home's operating history.