
Practical guide
What Should Be Included in a Rental Condition Report?
A useful rental condition report identifies the home, records room-by-room condition, connects observations to photos, and preserves a clear baseline that can still be understood later.
In this article
Quick take
A condition report should make the home's starting condition legible: which property, which room, what was observed, what evidence supports the observation, and which version is final.
Keep the report focused on condition. Maintenance activity, unrelated lease administration, and later conversations can stay connected to the home without being mixed into the baseline itself.
Start by identifying exactly what the report belongs to
Before describing a single wall or appliance, a condition report should establish its identity. The property address, unit, inspection date, move-in stage, and people participating give the observations that follow a clear context.
That sounds basic, but it matters when a property has multiple units, when a household changes, or when several inspections exist over time. A report should be recognizable as a specific record without depending on its filename or the email thread that delivered it.
Record header
Move-in condition report
- Property
- Property address + unit
- Inspection stage
- Move-in
- Inspection date
- Recorded date
- Participants
- People who completed or reviewed it
Put room-by-room condition at the center of the report
The main body should follow the physical home. Organize observations by room or defined area so a future reader can quickly find the entry, living room, kitchen, bedrooms, bathrooms, and any included utility, storage, balcony, patio, garage, or exterior spaces.
Within each area, describe the surfaces and features that materially define condition. You do not need a line for every square inch of the property, but the structure should be consistent enough that important items are not recorded in one room and silently skipped in another.
Common room-level categories
- Walls, ceilings, trim, and baseboards.
- Flooring, carpet, thresholds, and transitions.
- Doors, handles, locks, and door frames.
- Windows, screens, blinds or shades, and sills.
- Lighting, switches, outlets, and provided fixtures.
- Closets, shelving, built-ins, and mounted accessories.
Include fixtures, appliances, and equipment that stay with the home
A move-in report should account for the items the resident receives as part of the rental. In a kitchen, that can include the refrigerator, range, oven, dishwasher, microwave, cabinets, counters, sink, and faucet. In bathrooms, it can include the vanity, mirror, toilet, tub or shower, hardware, ventilation, and mounted accessories.
The report does not need to become an equipment manual. Record visible condition and basic observed operation where that is part of the normal inspection process. When identification matters, model or serial information can help distinguish one provided appliance from another.
- Provided kitchen appliances and their visible condition.
- Plumbing fixtures and surrounding surfaces.
- Heating or cooling controls residents are expected to use.
- Laundry machines or hookups when included.
- Keys, fobs, remotes, openers, or access items provided at handoff.
- Owner-provided furniture, shelving, or other equipment when applicable.
Connect photos to the observation they are meant to support
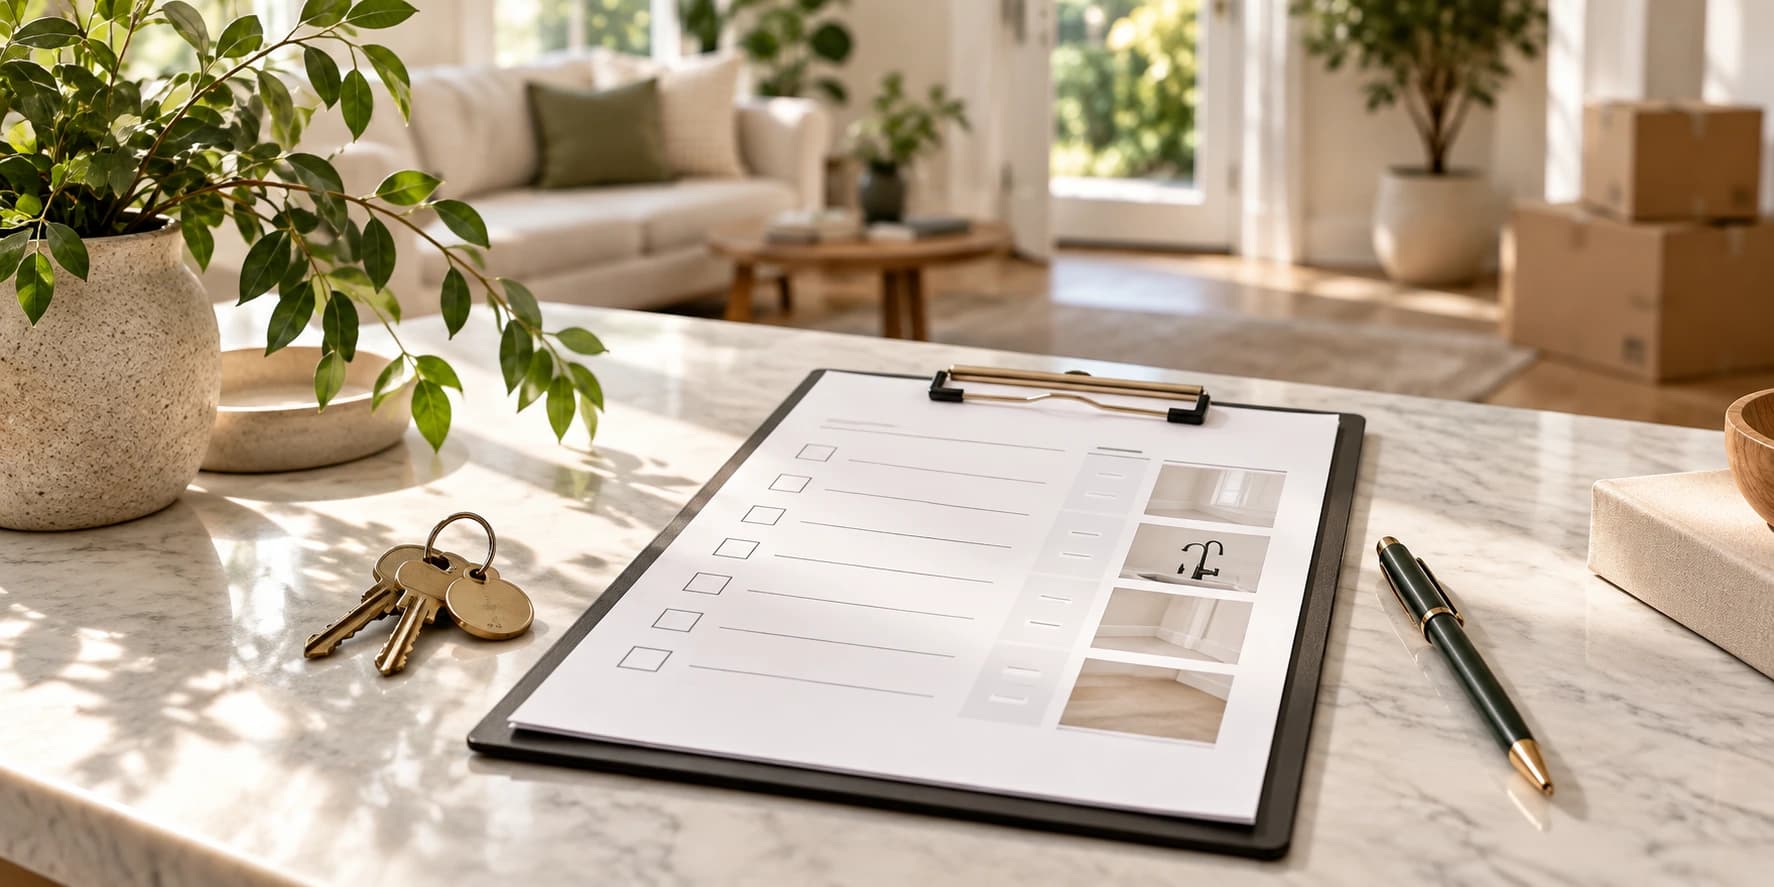
Photos make a condition report much stronger when they are organized with the room and note they support. An image set should show the overall space and then the detail that matters, rather than leaving a future reviewer to guess which close-up belongs to which room.
Use simple references such as room names, photo numbers, or attachments that stay connected to the record. The exact system matters less than the ability to move from a written observation to the supporting image without a scavenger hunt.
01
Name the area.
Keep the observation anchored to a room or defined space.
02
Describe the condition.
Use neutral, specific language about what can be observed.
03
Attach context.
Use a wider image so the location can be understood.
04
Add detail when needed.
A close-up should clarify the note, not replace its context.
Separate the condition baseline from items that need action
A report can document a dripping faucet, loose handle, damaged screen, or nonworking appliance while still keeping repair activity separate. The condition record answers what was present at move-in. The maintenance record answers what happened next.
Preserving both is useful. If a repair is completed after move-in, the original report should still show that the issue existed at the start, while the maintenance history shows the request, work, and resolution.
Do
- Record the observed condition in the move-in report.
- Create a separate maintenance request when action is needed.
- Keep both records associated with the same home.
- Preserve the original baseline after the repair is completed.
Don't
- Turn the condition report into a running maintenance log.
- Delete an original observation because it was later repaired.
- Mix scheduling conversations into the factual condition note.
- Assume a maintenance status explains the original condition.
Include a clear final review or acknowledgement
The report should make it clear when the move-in record is complete and which version is considered final. Depending on the property's process, that may include a review step, acknowledgement, signature, submission timestamp, or another way to identify the completed record.
The purpose of that step is clarity, not ceremony. Both sides should be able to tell what was submitted, when it was submitted, and whether later comments are additions to the original record or separate follow-up.
Make the completed report easy to retrieve at move-out
A move-in condition report has long-term value only if it can be found later. Store the final record, related photos, acknowledgement, and any connected move-in maintenance history somewhere that remains associated with the home and lease after the first week is over.
That makes the eventual comparison much simpler: the move-out inspection can begin with an actual baseline instead of asking everyone to reconstruct move-in from old inboxes and camera rolls.
This guide is operational information, not legal advice. Required forms, signatures, deadlines, inspection procedures, deposit rules, and other requirements can vary by lease and jurisdiction, so use the process that applies to the rental.
“The report should be easy to complete now and easy to understand later.”
A durable baseline
Keep the report focused on the condition of the home.
Identify the record, move room by room, connect observations to photos, separate maintenance from condition, and preserve one final version that can still be found when the home changes hands again.
Related reading
More practical guidance for owners, residents, and property teams.
How to Document a Rental Property's Condition Before Move-In
September 16, 2026 · 8 min read
ReadRental Move-In Inspection Checklist: A Room-by-Room Guide
September 18, 2026 · 10 min read
ReadMove-In vs. Move-Out Inspections: What Should Be Compared?
September 17, 2026 · 8 min read
ReadDo this in Parc
Keep move-in tasks, photos, notes, and resident acknowledgement connected to the home.
Parc & Portfolio keeps the move-in record next to the lease, household, and the rest of the home's operating history.