
Practical guide
Move-In vs. Move-Out Inspections: What Should Be Compared?
Use the move-in record as the baseline for move-out by comparing the same rooms, surfaces, fixtures, equipment, photos, and notes in a consistent, factual way.
In this article
Quick take
A move-out inspection is easier to interpret when it follows the same structure as the move-in record: same rooms, same features, similar views, and clear notes about what changed.
The comparison should stay factual. A visible change does not by itself decide responsibility, charges, or legal treatment; those questions depend on the lease, the surrounding history, and applicable rules.
Treat the move-in inspection as the baseline, not background paperwork
The move-in inspection gives the move-out inspection something concrete to compare against. Without that starting point, the final walk-through can turn into a memory exercise: Was that floor mark already there? Was the screen bent at move-in? Which appliance shelf was missing?
A usable baseline replaces those questions with a record. The strongest comparisons begin with the original room sequence, photos, condition notes, and any move-in follow-up that changed the state of the home after the first inspection.
Compare like with like: same room, same feature, similar view
The clearest comparison uses the same categories at both ends of the lease. If move-in documented the entry door, living-room walls, kitchen counters, bedroom flooring, bathroom fixtures, and provided appliances, move-out should revisit those same items rather than using a completely different checklist.
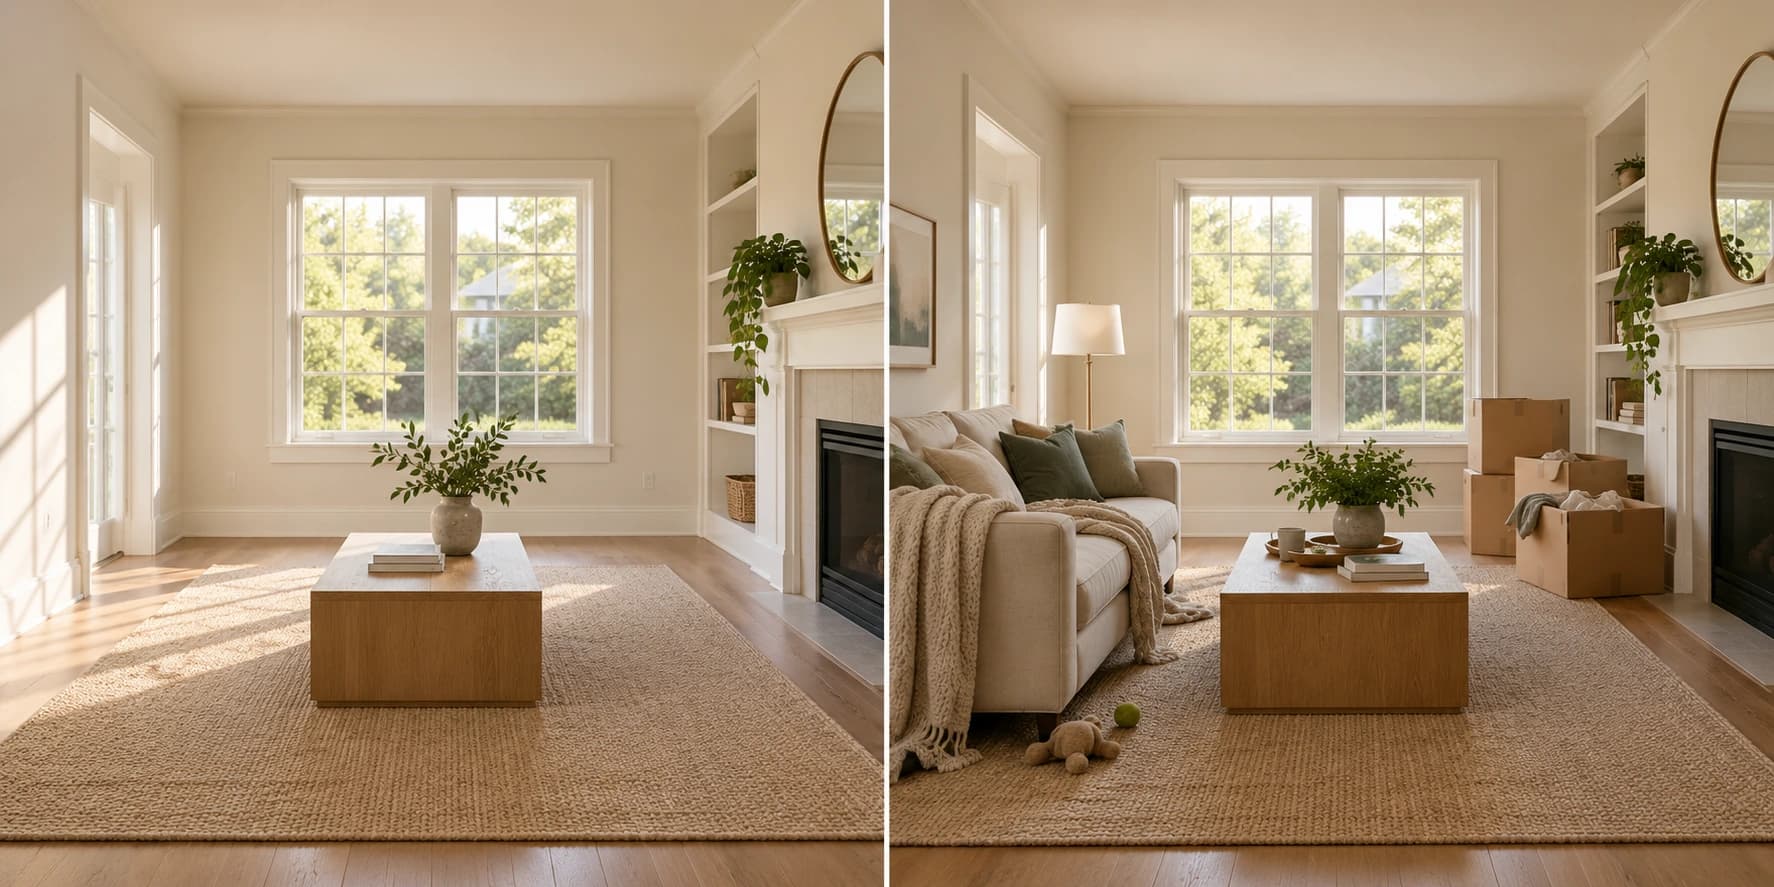
Photos are easier to compare when the angle and framing are reasonably similar. You do not need to reproduce the original camera position perfectly, but a wide shot from the same side of the room is much more useful than an unrelated close-up from the opposite corner.
01
Open the original room record.
Use the move-in sequence instead of inventing a new route.
02
Revisit the same feature.
Compare walls to walls, fixtures to fixtures, and equipment to the same equipment.
03
Match the context where practical.
Use similar room views so the change is easier to understand.
04
Describe what is different.
Keep the note factual and tie it to the supporting images.
Compare condition, not just whether the room looks different
A lived-in home will not look identical to an empty move-in photo. Furniture may have changed the way a room reads, light may be different, and ordinary cleaning or aging can alter surfaces over time. The useful question is not whether the two photos look exactly the same. It is what changed in the condition of the home and its included features.
Focus on observable differences: a new hole, stain, broken part, missing fixture, altered surface, damaged screen, changed appliance condition, or another specific condition difference. Keep the description separate from conclusions about why the change occurred or how it should be treated.
Do
- Compare the same room and feature against the baseline.
- Describe observable change in neutral language.
- Account for repairs or replacements completed during the lease.
- Use the lease and applicable process for decisions that go beyond the inspection itself.
Don't
- Treat a different camera angle as proof of a condition change.
- Assume every visible difference has the same meaning.
- Ignore documented maintenance that changed the original baseline.
- Turn the inspection note itself into a legal conclusion about responsibility.
Use photos and notes together when something changed
A photo shows condition; a note explains what the reviewer should notice. When a move-out observation differs from move-in, use both. Start with a wider image of the room or feature, then add a closer photo if the difference needs detail.
Reference the matching move-in observation when possible. That can be as simple as "Move-in: no visible chip at lower cabinet edge. Move-out: chip visible at lower-right cabinet edge." The comparison is much easier to audit than two unlabeled photos stored months apart.
Example comparison
Kitchen — lower cabinet edge
- Move-in
- No visible chip in baseline photo
- Move-out
- Small chip visible at lower-right edge
- Evidence
- Matching wide + detail photos
- Next step
- Review under lease and property process
Keep maintenance history close enough to explain legitimate changes
The home may have changed during the lease because the property team repaired, replaced, or updated something. A new faucet, replaced appliance, patched wall, repaired window, or changed lock can make the move-out condition different from the original move-in photo for a perfectly documented operational reason.
That is why condition and maintenance records should stay separate but connected. The baseline shows what existed first. Maintenance history explains work performed later. The move-out comparison can then use the correct current state rather than treating every difference as unexplained.
Review the same room-level categories at both ends
A consistent room-by-room structure keeps the comparison practical. Work through the areas that were documented at move-in and revisit the same categories rather than concentrating only on the most obvious difference in the home.
Common comparison points
- Walls, ceilings, trim, baseboards, and visible patching or marks.
- Floors, carpet, thresholds, stains, scratches, chips, or lifting.
- Doors, locks, handles, frames, windows, screens, and blinds or shades.
- Cabinets, counters, sinks, faucets, vanities, mirrors, and mounted hardware.
- Provided appliances, laundry equipment, remotes, and other included items.
- Keys, fobs, access devices, assigned storage, patios, balconies, or garages when applicable.
Build one comparison record instead of hunting through two separate archives
The comparison becomes much easier when move-in and move-out observations can be read together. For each room or item, show the starting condition, the ending condition, the supporting evidence, and any relevant maintenance context without overwriting either original inspection.
That creates a useful timeline: baseline, work completed during the lease if any, and final observed condition. The original records remain intact, but the comparison no longer requires someone to switch between unrelated folders, email threads, and photo libraries.
Finish with a factual summary, then use the correct process for decisions
At the end of the inspection, summarize the meaningful differences that were observed and confirm that the supporting move-in and move-out records are complete. Keep the inspection focused on what can be documented: the feature, the earlier condition, the later condition, and the evidence available.
Questions about responsibility, normal wear, charges, deposits, notice, or remedies go beyond the visual comparison itself. Those decisions depend on the lease, maintenance history, surrounding facts, and applicable law. Keeping the inspection record factual makes it more useful regardless of what process follows.
This guide is operational information, not legal advice. Move-in and move-out requirements, deposit procedures, inspection rights, documentation rules, and treatment of property condition can vary by lease and jurisdiction.
“Compare the record first. Decide what the difference means through the process that comes next.”
The comparison
Use the same home record at both sides of the lease.
A consistent move-in baseline makes move-out easier to review: same rooms, same features, useful photos, factual notes, and enough history to understand what changed in between.
Related reading
More practical guidance for owners, residents, and property teams.
What Should Be Included in a Rental Condition Report?
September 16, 2026 · 8 min read
ReadRental Move-In Inspection Checklist: A Room-by-Room Guide
September 18, 2026 · 10 min read
ReadHow to Document a Rental Property's Condition Before Move-In
September 16, 2026 · 8 min read
ReadDo this in Parc
Keep move-in tasks, photos, notes, and resident acknowledgement connected to the home.
Parc & Portfolio keeps the move-in record next to the lease, household, and the rest of the home's operating history.